Mema's Online Store - Click Here
Hello Everyone! I'm back with a bit of altered art. I recently found myself focused on boxes. I have altered shoe boxes, phone boxes and paper mache boxes. All sizes and shapes and I have about 6 more to go and I hope this mojo I've got going on will continue through the rest of them.
Anyway I am going to share a round one that I altered with you. I am really pleased at how it turned out and how quickly it came together.
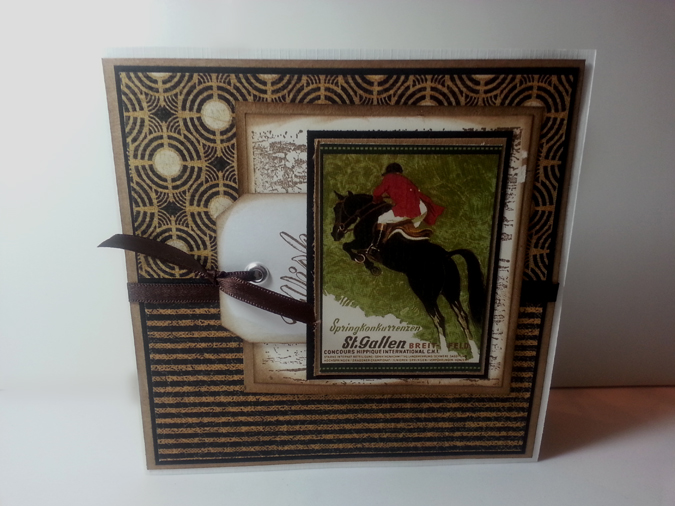
Oh and did I mention that for each box I altered I decided to make a matching card with any leftover paper so that if given as a gift there will be a card to go with it. Pretty darn cool...don't you think?
So sit back with a bit of tea or coffee and check out my photos. I took about five pictures from various angles to give you an idea of the overall look.

The word "Lasting" is in chipboard that I left raw but splashed a little gesso here and there to make it pop.
I thought this was appropriate to imply that the contents or the memories inspired from the contents are long lasting and worth keeping.

Here the lid is off to the side and the card is shown to the left of the lid.
No worries I have the card from another angle as well.

I wanted to show off the bottom of the box as well as the lace around the rim, so here you can see just that.
At the bottom of the box I added what I called elastic lace just because of the way it looks and feels.
The flowers are a mixture of Prima, Recollections and Wild Orchids. I also tucked in a chipboard piece that I inked with Walnut Stain.
The flowers are a mixture of Prima, Recollections and Wild Orchids. I also tucked in a chipboard piece that I inked with Walnut Stain.

Again here is a full view of the box with the flowers lace and trim.
I not only used a very intricate lace around the rim, I also added a trim piece from Offray that had dangling pearls which I thought was perfect and elegant enough for this particular paper collection from Heartfelt Creations.

Lastly is another view where you can see the card and it's greeting more easily.
Other items used were distress inks, gesso, acrylic paint and a hot glue gun. The greeting on the card was a stamp I picked up at Michael's from the dollar bin.
This alteration was so much fun and I'm ready to start anew.
I couldn't share all my alterations so to make sure I didn't bore you to much I thought I would share just the one this time...but beware I might just return with more.
Thanks for stopping by and be sure to enter your name below along with your comment for a chance to win "Group C" of my blog candy.
Have you forgotten about the giveaway?
Click Here for a reminder of what is up for grabs and of course the rules.

So there you have it. Add your name and leave a comment. Easy Peasy!
Have you forgotten about the giveaway?
Click Here for a reminder of what is up for grabs and of course the rules.

So there you have it. Add your name and leave a comment. Easy Peasy!