Embossed Wax Paper Resist
a.k.a. - Faux Embossing Resist- Tutorial By Ink Stains
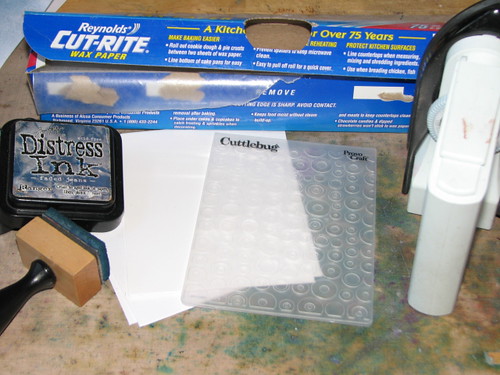
Supplies:
Wax Paper
Glossy Cardstock or Plain Cardstock
Iron
Embossing Folder
Die Cut Machine or Rolling Pin
Ink
Ink Blending Tool
Instructions:
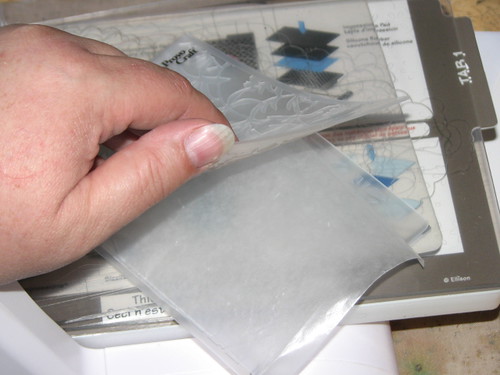
1. Place a sheet of wax paper in the embossing folder.
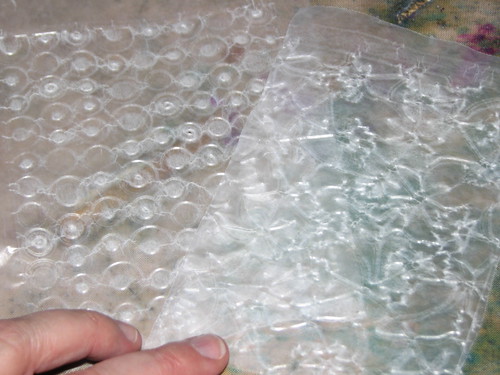
2. Run the folder through your die-cut machine OR if you don't have a die-cut machine use a rolling pin to smoosh the paper in the folder.
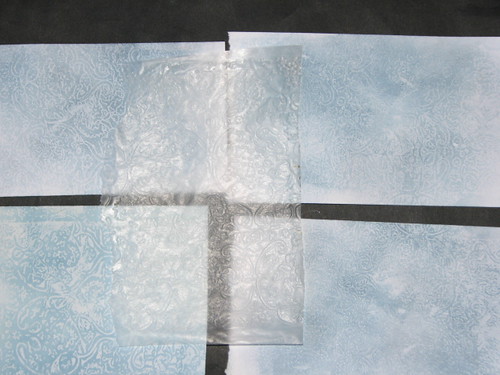
Your paper will look something like this....
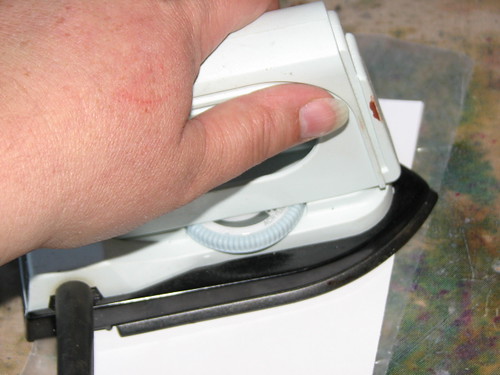
3. Sandwich your embossed wax paper between two sheets of cardstock. They can both be glossy cardstock, one glossy & one plain or both plain cardstock ~ totally up to you. For my examples I am using one glossy and on plain to show you how they each look.
4. Iron your paper sandwich ~ this will only take a few seconds for the wax image to transfer over to the papers.
5. Add ink! This can be any dye ink you love...for me it's Distress Inks ;)
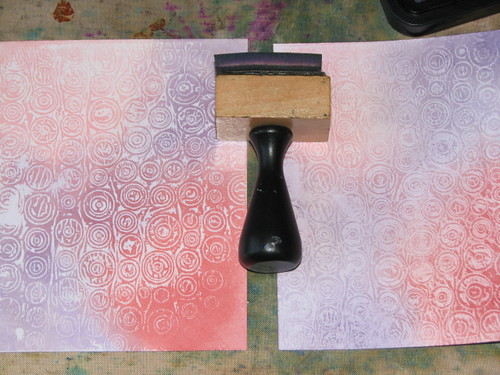
NOTE: If you look closely at the photo you can see that the example on the left (glossy cs) this is the positive image or the image with the bumps. The example on the right (plain cs) is the negative side of the wax paper or the side with the indents.
LEFT = Glossy Cardstock
RIGHT = Plain Cardstock
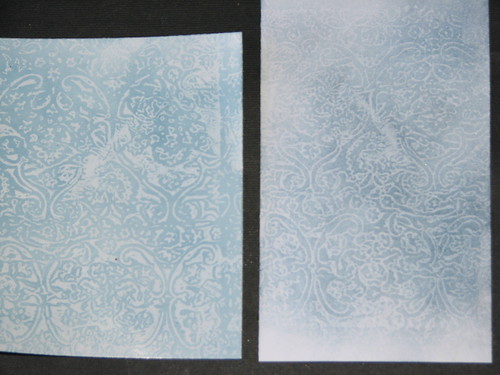
Closer Look....
Glossy Cardstock
Plain Cardstock
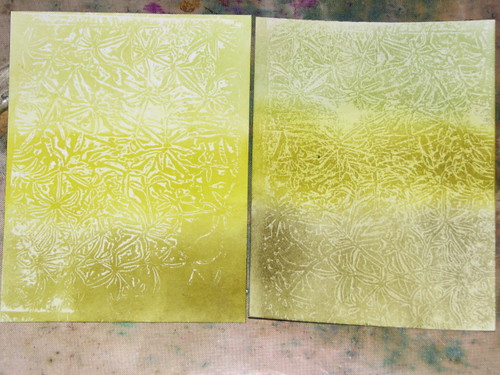
And a couple more examples....
The best part is the embossed wax paper can be used multiple times! I used one piece of wax paper to create all of these. You may be able to get another set but I didn't give it a try.
So how cool is that?!?!?
Pretty awesome effects for such an easy technique huh?
If I have time tomorrow I'm going to make a few cards using this technique...
I'm not sure how much time I will have as the Ladies Night Out Shopping Extravaganza is tomorrow night!
If not tomorrow then I'll have them sometime this weekend for you



No comments:
Post a Comment