( to see the video scroll to the bottom of this tutorial)
CS: 6 x 7 Scored 1 ½ inch in from the edge of each sideCS: 6 x 6 Scored 1 inch in from the edge of each sideThis gives you a center measuring 4 inches on each piece of
cardstock.Use a border punch on the sides and distress with walnut stain if desired

2. Your 3rd piece of cardstock that will be the front of
your card should be cut at 4 x 7 ½ and scored at 6 and 6 1/8 Fold the score lines to ensure that the flap hangs down smoothly


5. The reverse side of the wings are also decorated as shown here. The white areas are glued together later

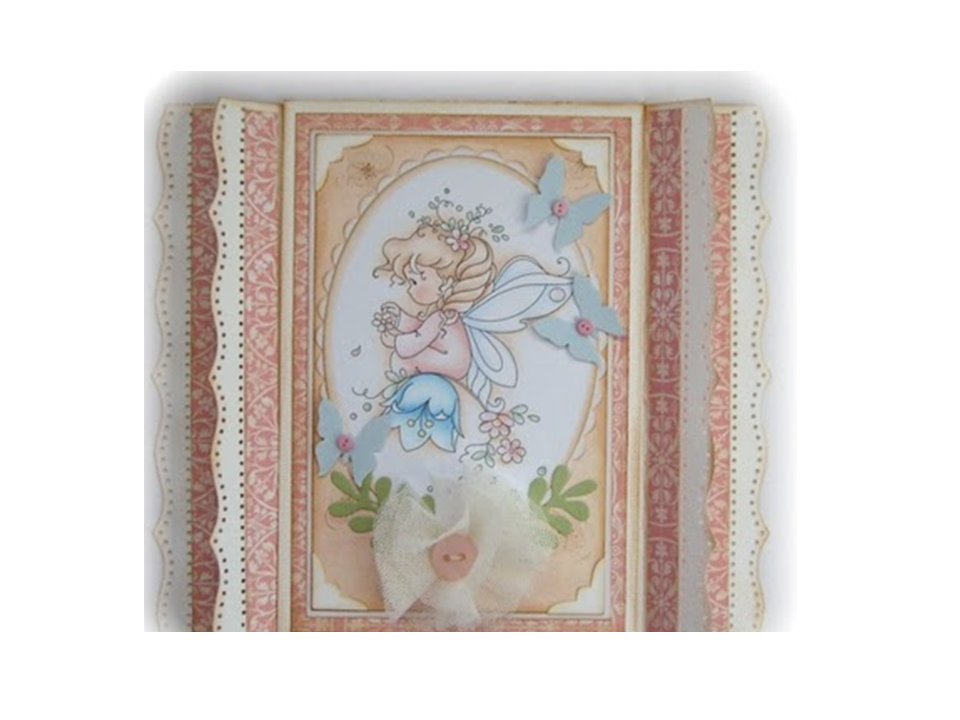
6. Here you can see how I decorated what will be the front of the card

7. And then I decorated the inside as shown here. Inside is the text I want to use. This could be a picture or anything, just make sure that the text/image is the right way :) I have attached double-sided tape to the small flap.


9.
Now add more double-side tape to the flap and the white side of the
smallest piece. We are preparing to glue
it to the larger piece of cardstock.

10. Here I have glued all the parts together, the two white areas
against each other, and the front card hangs nicely down the middle. I have
created a writing space, which is hidden by the front.


And here's the card completely finished.
If you fold the rear wings backward, and the main wing forward, so the
card can stand
No comments:
Post a Comment